First Things to Do After Buying a VPS: A Complete Setup Guide
Learn the critical first steps to secure and configure your new VPS properly. Ensure your server is safe and ready for deployment.
Published on: Sunday, Jan 11, 2026
Congratulations on purchasing your first VPS! A Virtual Private Server gives you dedicated resources and full control over your hosting environment. But with great power comes great responsibility—and a checklist of essential tasks to complete before deploying anything.
In this guide, I'll walk you through the critical first steps to secure and configure your new VPS properly.
1. Connect to Your Server via SSH
The first step is establishing a secure connection to your server. SSH (Secure Shell) is the standard protocol for remote server management.
On macOS/Linux:
On Windows: Use PuTTY or Windows Terminal with the same command. You'll find your server's IP address and root password in the welcome email from your hosting provider.
2. Update Your System Packages
Before doing anything else, update your server to patch any security vulnerabilities.
For Ubuntu/Debian:
For CentOS/RHEL/AlmaLinux:
This ensures you're running the latest security patches and software versions.
3. Create a Non-Root User with Sudo Privileges
Running everything as root is dangerous. Create a dedicated user account:
From now on, use this account for daily operations and only elevate to root when necessary.
4. Set Up SSH Key Authentication
Password-based authentication is vulnerable to brute-force attacks. SSH keys are far more secure.
On your local machine:
Once verified, disable password authentication in /etc/ssh/sshd_config:
Restart SSH: sudo systemctl restart sshd
5. Change the Default SSH Port
Port 22 is constantly scanned by bots. Changing it reduces noise:
Change Port 22 to something like Port 2222 (choose a port between 1024-65535).
6. Configure Your Firewall
A firewall is your first line of defense. UFW (Uncomplicated Firewall) makes this easy:
Only open ports you actually need.
7. Install Fail2Ban
Fail2Ban monitors log files and bans IPs showing malicious behavior:
It works out of the box but can be customized in /etc/fail2ban/jail.local.
8. Set Up Automatic Security Updates
Enable unattended upgrades to automatically install security patches:
This keeps your server protected even when you're not actively monitoring it.
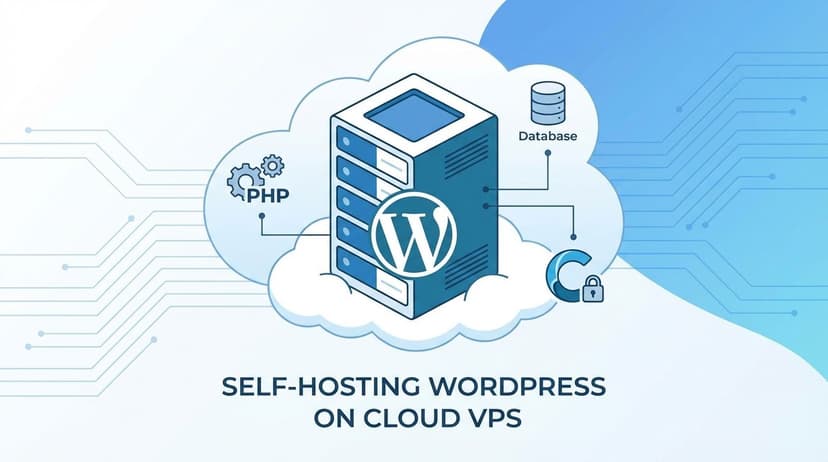
9. Install Your Web Stack
Now you're ready to install the software for your use case.
For web hosting (with Caddy):
For containerized apps:
For Node.js applications:
10. Point Your Domain (SSL is Automatic!)
Update your domain's DNS A record to point to your VPS IP address. With Caddy, SSL certificates are automatically provisioned and renewed - no extra steps needed!
Caddy automatically obtains and renews SSL certificates from Let's Encrypt. No certbot needed!
Bonus: Consider a Management Panel
If you prefer a GUI, tools like Coolify or Dokploy provide a clean interface for deploying applications without memorizing commands.
The Golden Rule
Security first, performance second, applications last. Reversing this order guarantees midnight emergencies.
Take your time with these initial steps. A well-configured VPS will serve you reliably for years. A hastily set up one will keep you awake at night.
Stay Updated
Get the latest updates and insights directly to your inbox.