How to Install WordPress on a VPS with Ubuntu, PHP 8.3, MariaDB, and Caddy
Step-by-step guide to install WordPress on a VPS with Ubuntu, PHP 8.3, MariaDB, and Caddy. Learn to self-host WordPress for better performance and control.
Published on: Sunday, Jan 11, 2026
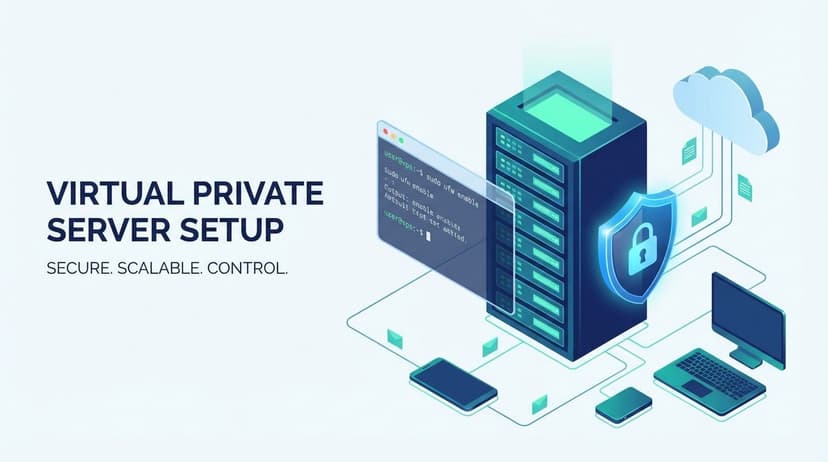
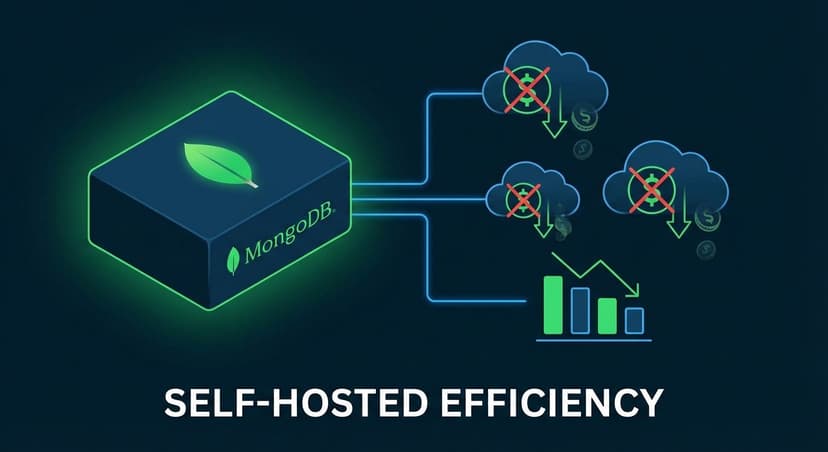
Setting up WordPress on your own VPS gives you complete control over your hosting environment, better performance, and significant cost savings compared to managed hosting. In this comprehensive guide, I'll walk you through installing WordPress on an Ubuntu VPS using modern tools: PHP 8.3, MariaDB, and Caddy web server.
If you haven't secured your VPS yet, check out my previous guide on First Things to Do After Buying a VPS before continuing.
Why Choose a VPS for WordPress?
Before diving into the installation, let's understand why hosting WordPress on a VPS is often better than shared hosting:
- Full root access to configure everything exactly how you need
- Better performance with dedicated resources
- Cost-effective at around $3-5/month for entry-level VPS
- Scalability to upgrade resources as your site grows
- Learning experience that deepens your understanding of web hosting
Prerequisites
Before we begin, make sure you have:
- A VPS running Ubuntu 22.04 or 24.04 (I recommend Hetzner for affordable options)
- A domain name pointed to your VPS IP address
- SSH access to your server
- Basic command line knowledge
Step 1: Update Your System
First, connect to your VPS via SSH and update all packages:
Step 2: Install PHP 8.3 and Required Extensions
WordPress requires PHP along with several extensions. Let's install PHP 8.3 (the latest stable version) with all necessary modules:
Verify the installation:
You should see output showing PHP 8.3.x.
Step 3: Install MariaDB Database Server
MariaDB is a drop-in replacement for MySQL with better performance and is fully compatible with WordPress:
Secure your MariaDB installation:
Follow the prompts to set a root password, remove anonymous users, disallow remote root login, remove test database, and reload privilege tables.
Step 4: Create WordPress Database and User
Log into MariaDB and create a database and user for WordPress:
your_strong_password_here with a strong, unique password.Step 5: Install Caddy Web Server
Caddy is a modern web server that automatically handles HTTPS certificates via Let's Encrypt. It's much simpler to configure than Apache or Nginx:
Step 6: Download and Configure WordPress
Create a directory for your WordPress site and download WordPress:
Step 7: Configure Caddy for WordPress
Edit the Caddyfile to configure your WordPress site:
Replace the contents with:
yourdomain.com with your actual domain name.Restart Caddy to apply the configuration:
Caddy will automatically obtain and configure an SSL certificate for your domain.
Step 8: Complete WordPress Installation
Visit your domain in a web browser (e.g., https://yourdomain.com). You'll see the WordPress installation wizard.
- Select your language
- Enter database details:
- Database Name:
wordpress_db - Username:
wp_user - Password: (the password you created earlier)
- Database Host:
localhost - Table Prefix:
wp_(or change for security)
- Database Name:
- Run the installation
- Set up your site with Site Title, Admin Username (don't use "admin"), Password, and Email
Step 9: Post-Installation Security
After installing WordPress, take these security measures:
Update Security Keys
Generate new security keys at WordPress Secret Key Generator and add them to your wp-config.php.
Set Proper File Permissions
Install Essential Security Plugins
- Wordfence or Solid Security for firewall and malware scanning
- UpdraftPlus for automated backups
- Limit Login Attempts Reloaded to prevent brute force attacks
Bonus: Local Theme Development Workflow
You can develop your WordPress theme on your local machine and deploy it to your VPS using rsync:
This workflow keeps your production server clean while allowing rapid development on your local machine.
Performance Optimization Tips
- Enable PHP OPcache - Already included in PHP 8.3
- Install a caching plugin - WP Super Cache or W3 Total Cache
- Use a CDN - Cloudflare offers a free tier
- Optimize images - Use ShortPixel or Imagify
- Keep WordPress, themes, and plugins updated
Frequently Asked Questions
How much does it cost to host WordPress on a VPS?
Entry-level VPS providers like Hetzner offer plans starting at around $3-5/month, which is often cheaper than managed WordPress hosting while giving you more control and dedicated resources.
Is Caddy better than Nginx for WordPress?
Both are excellent choices. Caddy's main advantage is automatic HTTPS certificate management and simpler configuration. Nginx offers more fine-grained control but requires more setup. For most WordPress sites, Caddy is easier to manage.
Why use PHP 8.3 instead of older versions?
PHP 8.3 offers significant performance improvements (up to 20% faster than PHP 7.4), better security, and new features. WordPress fully supports PHP 8.3, and most modern plugins are compatible.
Can I host multiple WordPress sites on one VPS?
Yes! Simply create separate directories for each site, set up additional databases, and add multiple site blocks in your Caddyfile. A $5/month VPS can easily handle 3-5 low-traffic WordPress sites.
How do I update WordPress on a VPS?
WordPress has a built-in auto-update feature. You can also update manually through the admin dashboard or via WP-CLI:
What if I get locked out of my WordPress admin?
You can reset your password directly in the database:
Conclusion
You now have a fully functional WordPress installation running on your VPS with PHP 8.3, MariaDB, and Caddy. This setup provides excellent performance, automatic SSL, and complete control over your hosting environment.
Remember to:
- Keep your server and WordPress updated
- Maintain regular backups
- Monitor your server resources
- Follow security best practices
This foundation gives you the flexibility to customize your hosting setup as your needs grow. Happy hosting!
Stay Updated
Get the latest updates and insights directly to your inbox.